Hello and welcome to this pre-workshop tutorial. I made it to explain what we need to make our journals this Sunday and to be prepared to make the most out of our time together. So please, find these papers and cut/tear them to your desired size so that we can proceed from there :)
1. Supplies needed:
1. Supplies needed:
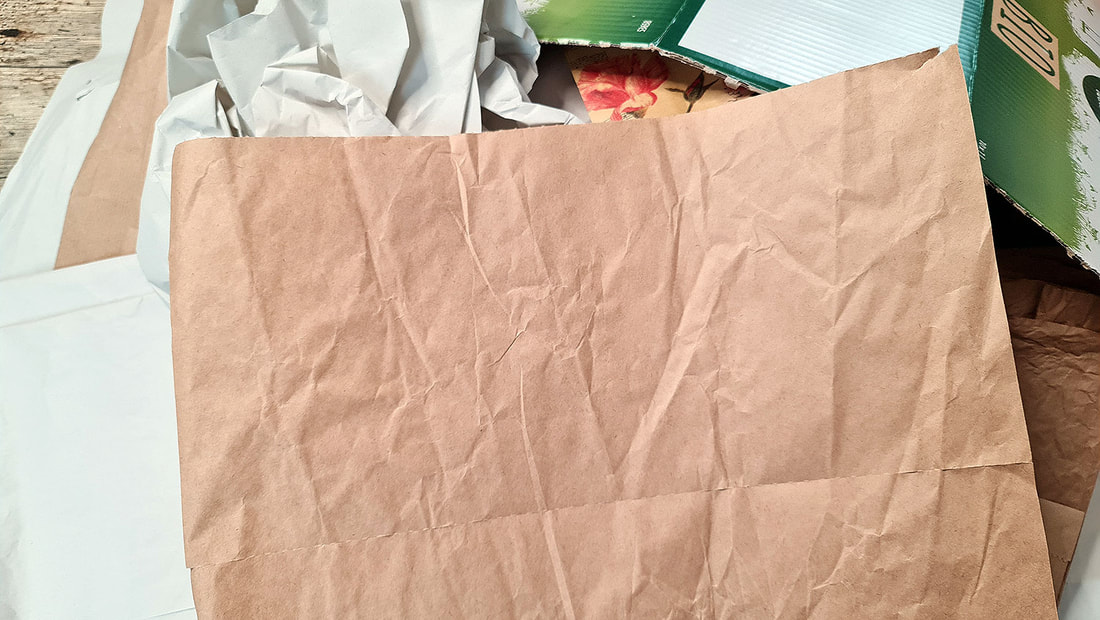
First of all we need papers, the more the merrier. I will be using only kraft and recycled papers in this tutorial because I really like up-cycling and using what I already have at hand. These papers come in boxes when I order something on-line and I am the happiest when I receive the type of papers that are perforated but stick together (like toilet paper) because these give me the perfect pages to work in and I don't have to cut them to any other size. It's all done for me already. I am talking about this type:
For the covers we will be using cardboard papers - you can also use cereal boxes for them but they won't feel as sturdy and fancy as the corrugated cardboard ones will.
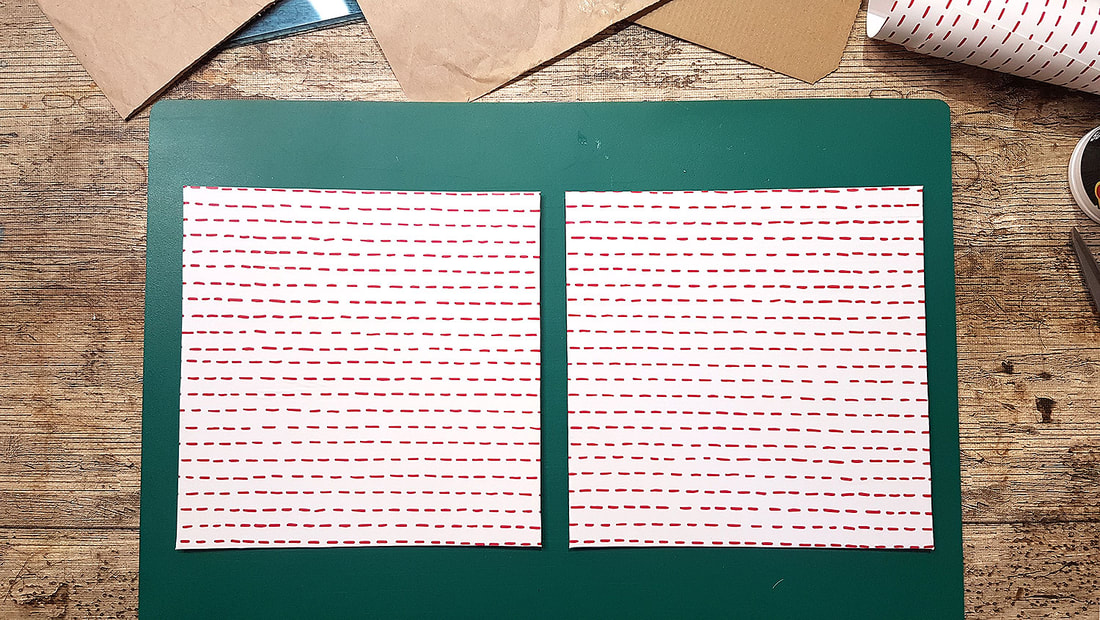
Paper bags and colorful wrapping papers are also nice to have in a journal/sketchbook so I invite you to recycle some of these too:
Paper bags and colorful wrapping papers are also nice to have in a journal/sketchbook so I invite you to recycle some of these too:
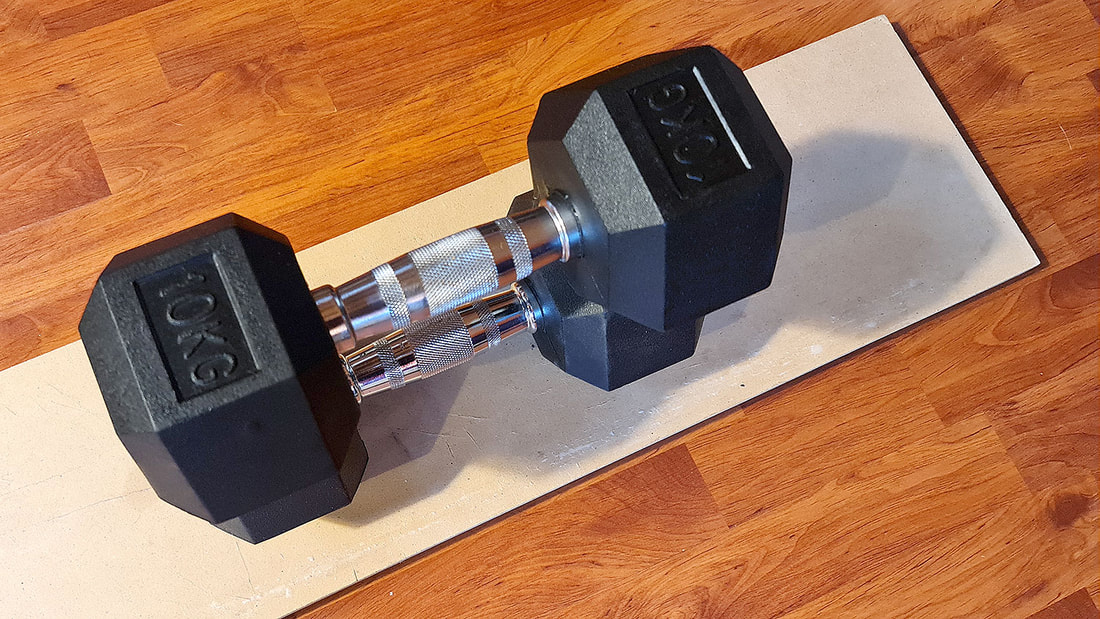
So, gather your papers and smooth them as much as you can. You can also iron them out. I usually just make a pile and put some weights on top or a lot of books. Well, weights are pretty handy for this I must admit.
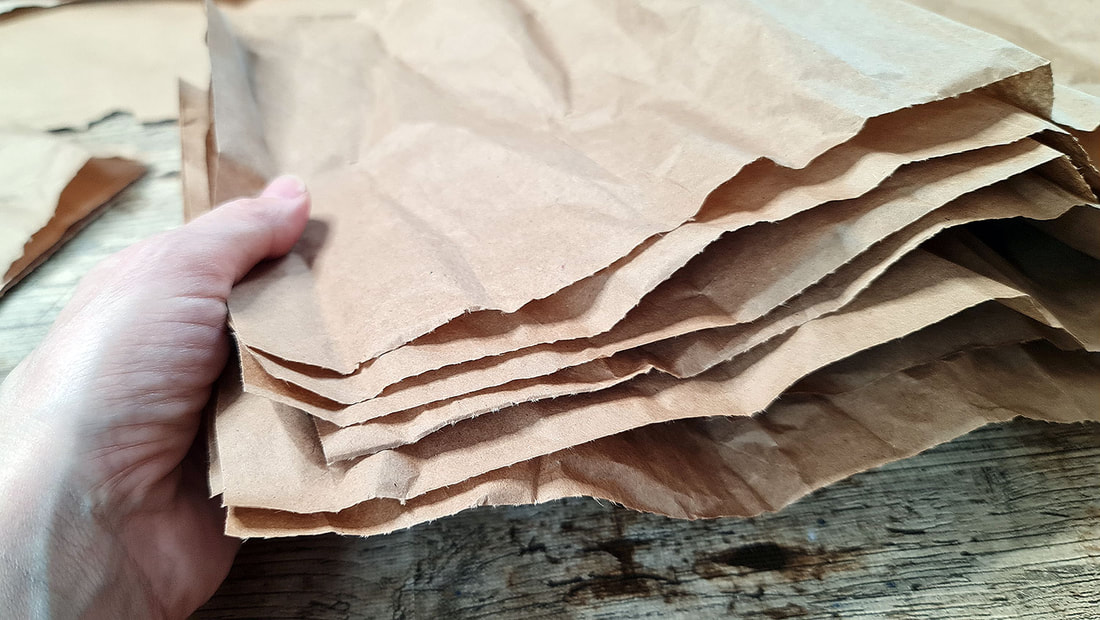
When your papers are all as flat as they can be, gather them up in a pile and start folding them in half one by one. We are going to make our journals out of these later.
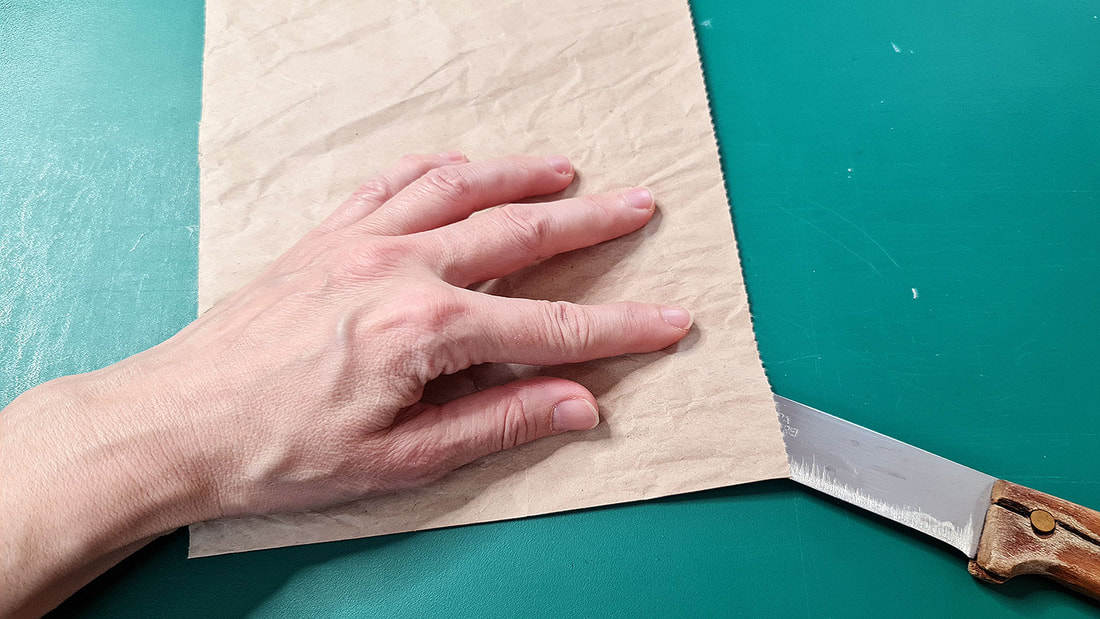
Here's how I go about cutting bigger papers to the size I want. I don't like being too precise because I really like the look of perfectly un-perfect wobbly uneven things. Especially in art journals or handmade sketchbooks.
I take the longest thinnest knife we have (wish I had a cake knife as it looks perfect for these things) and use it to cut along my pre-made fold. It's the fastest way and works like a charm.
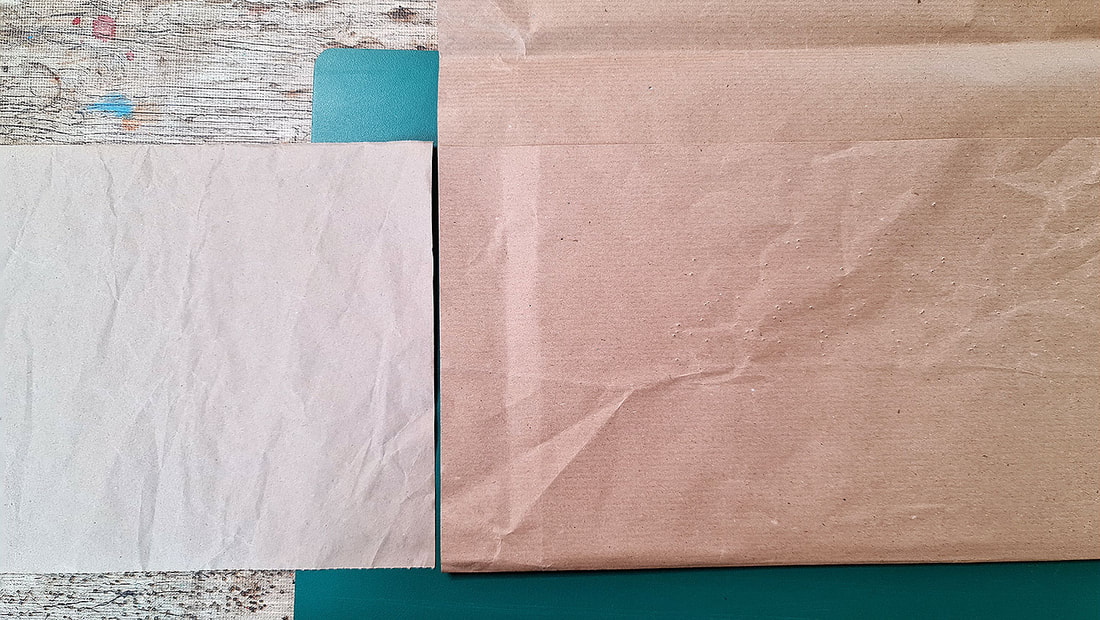
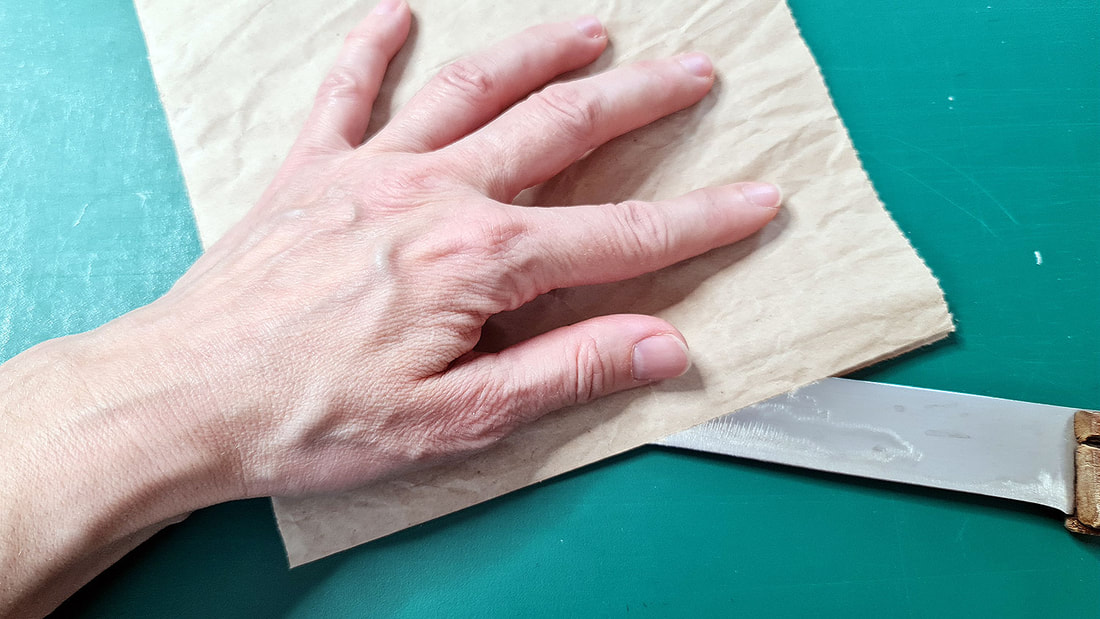
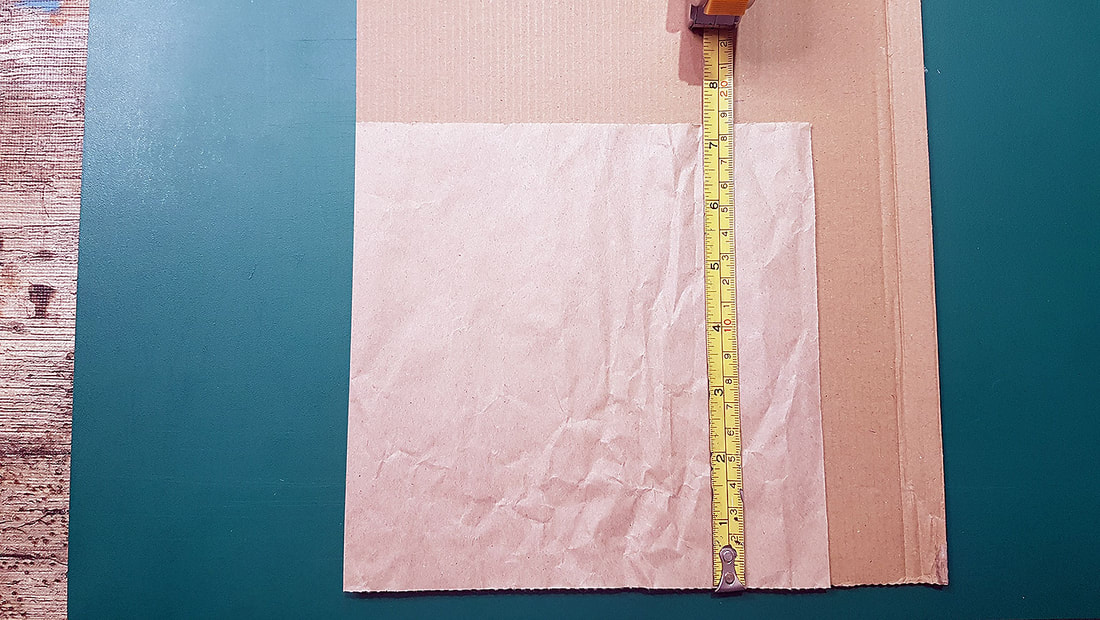
On this photo, I wanted to "catch" the height of the paper on the left, as this was one of those already perforated papers but the paper on the right was just a sheet of packaging paper. I folded the packaging paper and used my knife to cut it.
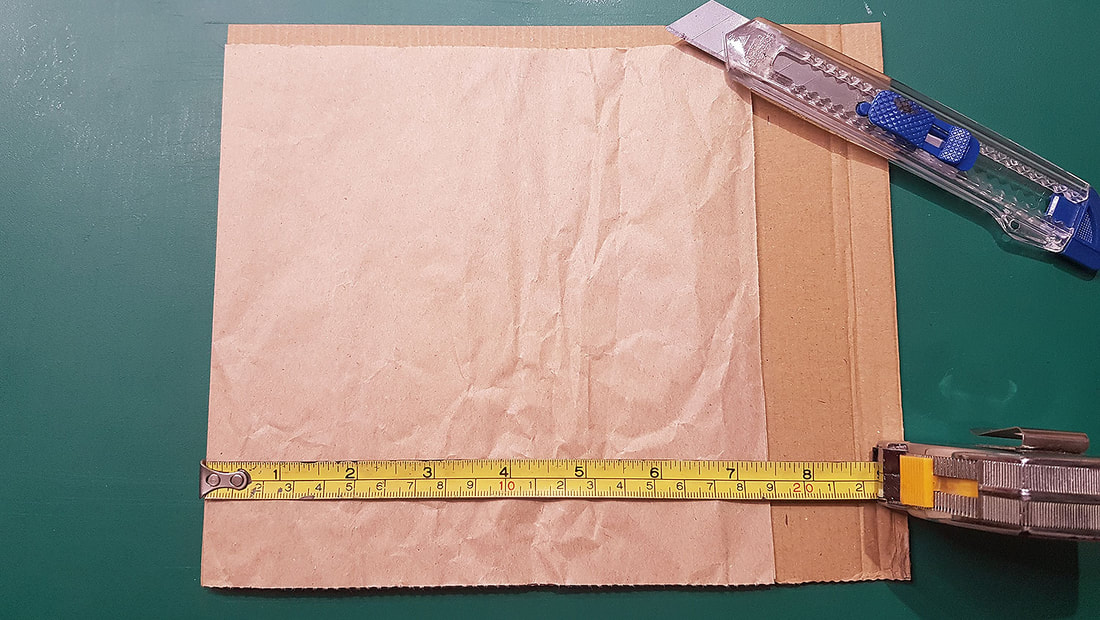
I know this is not the same paper but I cut it like this:
You should now be having quite a few of these papers/pages done. 15 of these (papers folded in half) gives you 60 pages (15 x 4 ).
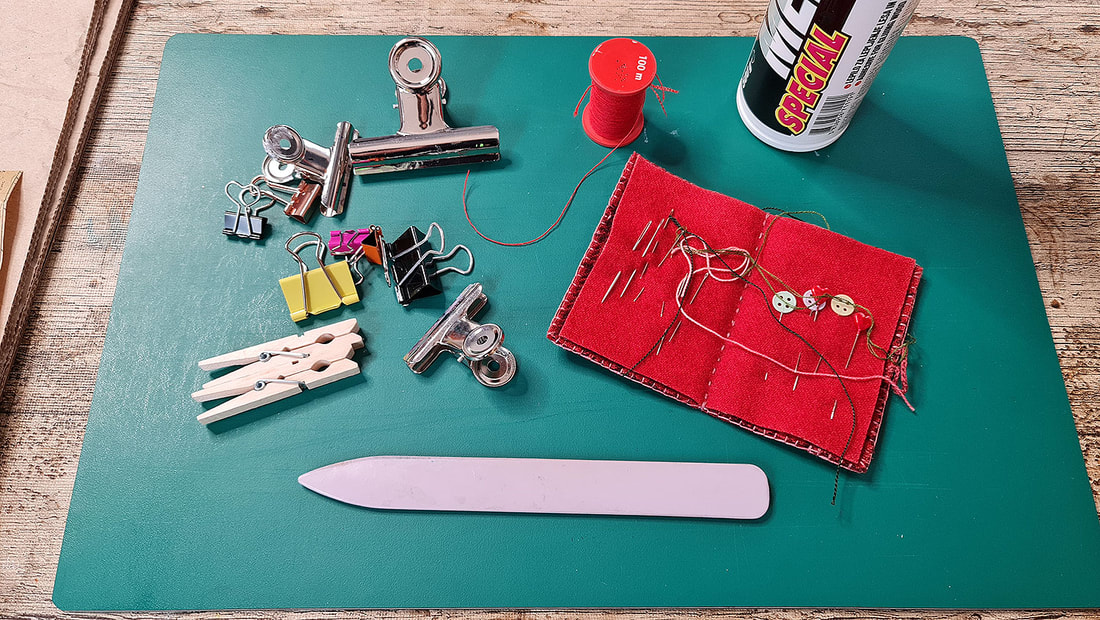
We shall need these supplies to proceed with our journal making on Sunday:
- thicker thread
- optional: bees wax or a candle as I'll show you how I make waxed thread (wax is not pictured)
- a thicker sewing needle to use with your thicker thread
- a longer sewing pin or a big needle or an awl - something to poke the holes through the paper with (not pictured here)
- a relatively fast drying glue, I am using white wood/paper glue
- paper clips or clothes pins - something to hold your signature together when we will sew it onto the covers
- an old credit card for spreading our glue (not pictured here)
- bone folder if you have one, for smoothing the covers when we glue paper on them - or another old plastic card
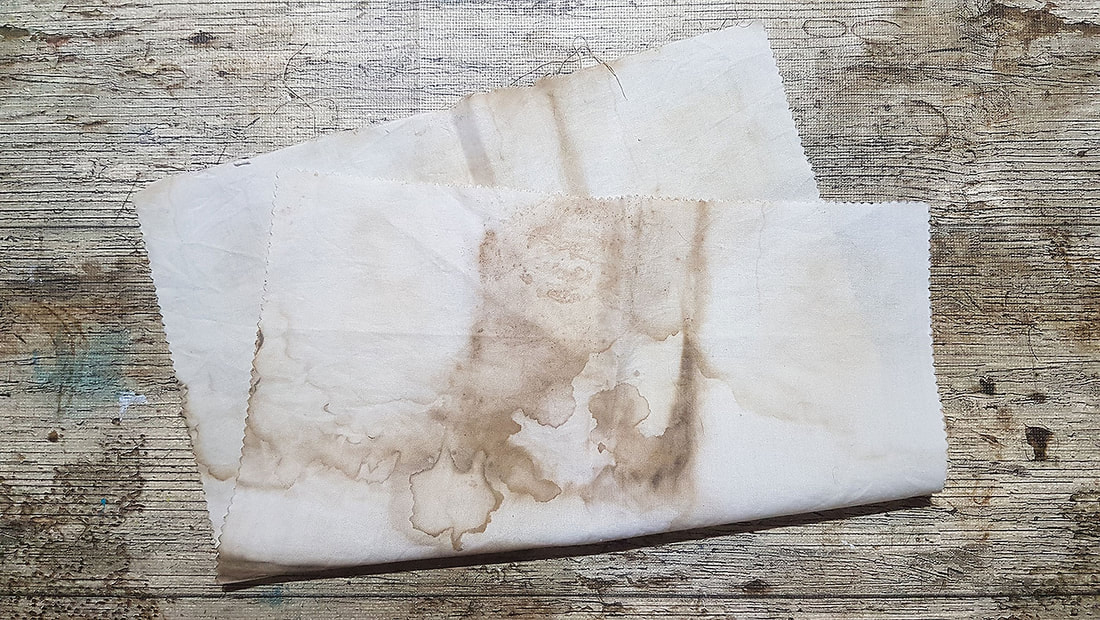
- a piece of old fabric for our journal spine - I will be using this coffee colored cotton scrap (see next photo)
- a pretty paper to cover your covers with - I used Christmas wrapping paper from last year :) (not pictured here)
I went ahead and prepared my covers. If you feel like crafting a bit here's what I did. I took the cardboard from the Bookdepository delivery and cut it to size. It seemed very fitting for this job :D
On this photo you can see my folded paper - this is the size of my page. I cut the cardboard 1 cm higher than my page and 0.5 cm wider:
On this photo you can see my folded paper - this is the size of my page. I cut the cardboard 1 cm higher than my page and 0.5 cm wider:
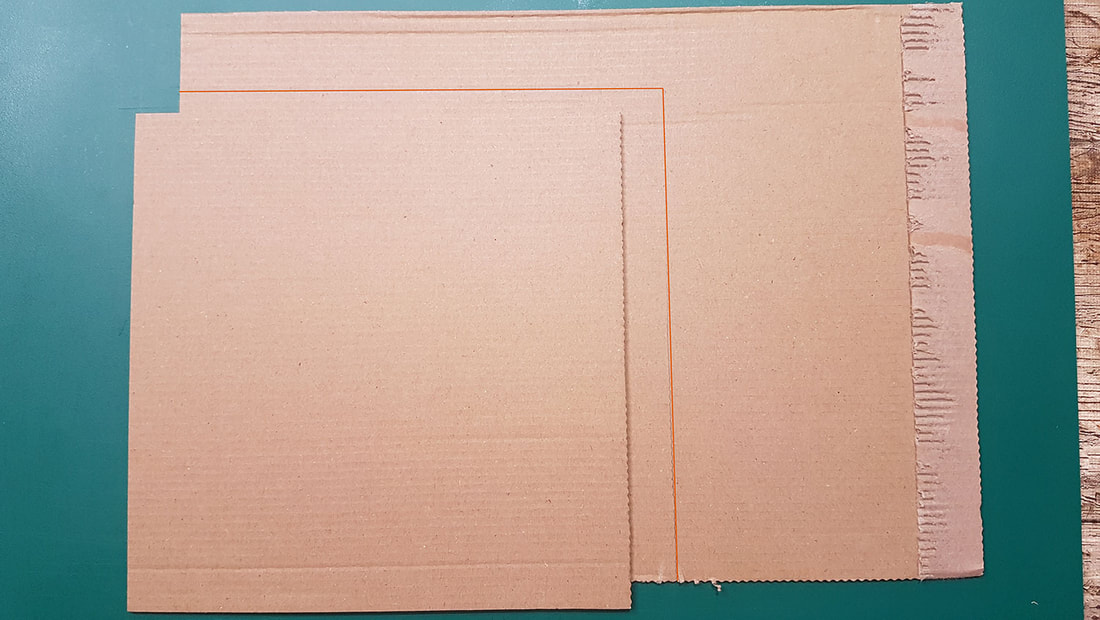
This is how one cover looked like when cut to size:
I used it to outline the second cover:
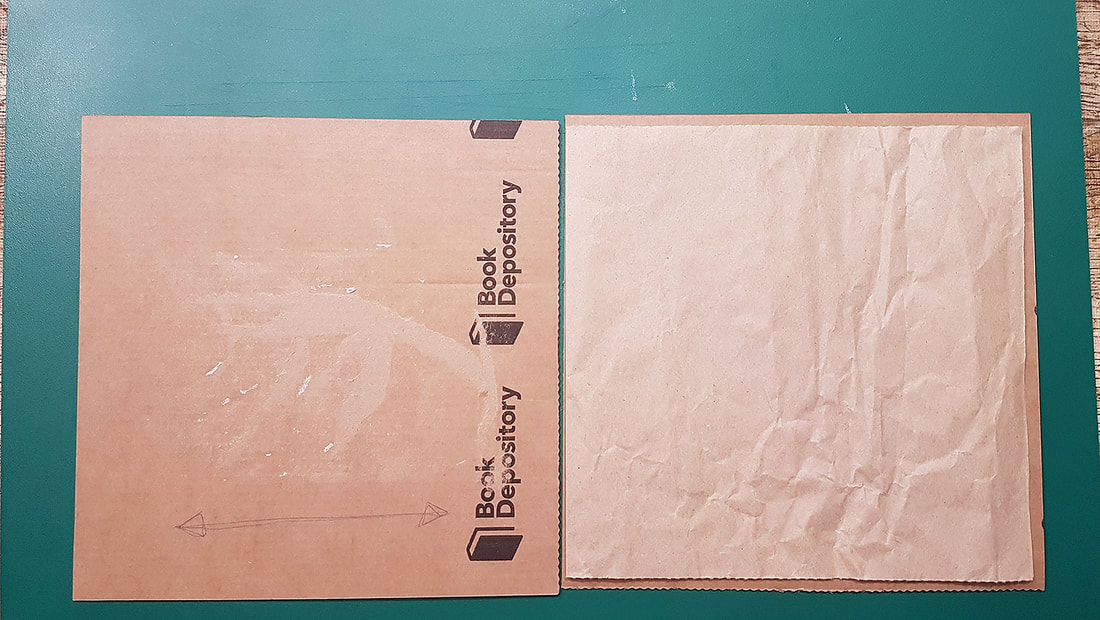
And here's what I ended up with. I drew an arrow on both rectangles to mark the correct orientation of my cover. Sometimes the difference between the height and width is very small so one can quickly mess this up later. If you are making a portrait oriented book then this won't be a problem.
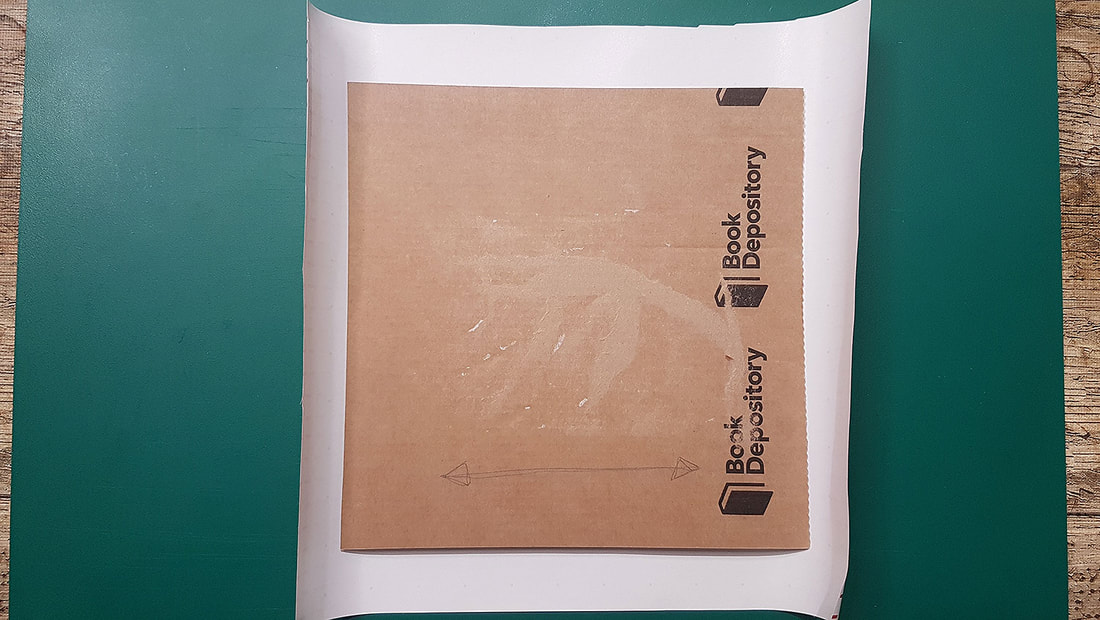
The final thing I did was to wrap-cover my covers :) Here's how. First I cut a bigger piece of paper than my book cover (about 2,5 cm on each side) from the wrapping paper and glued it on the cover. I used my credit card to smear the glue evenly on the cover cardboard.
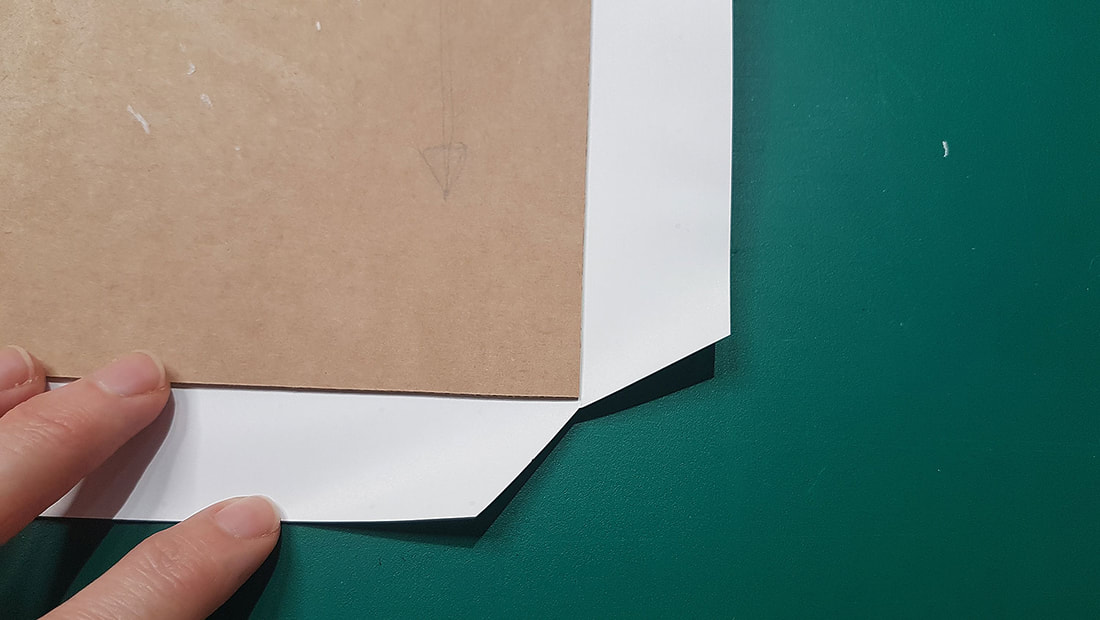
Then I cut out the corners like so. Don't fret about this too much as it will get covered later :)
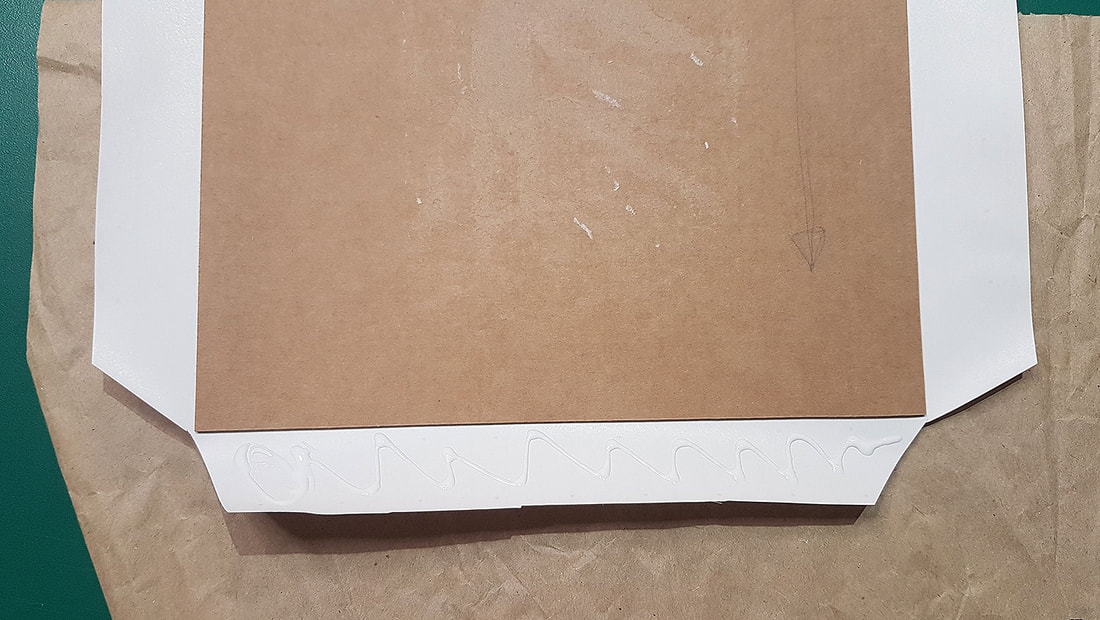
I glued the overlap on all sides onto the cardboard:
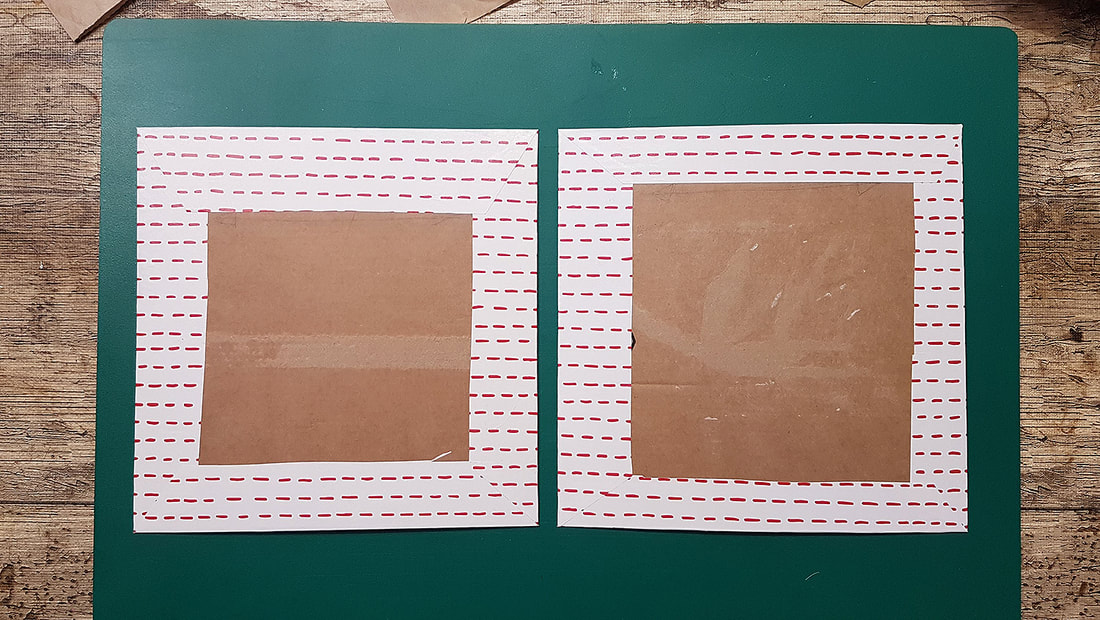
Covers needed to be flattened after this beautification because I glued to one side only. They are currently waiting for me under a big book.
And this is it. We are almost done with our journal and I can't wait to see you all on Sunday to finish everything up.
I hope this tutorial was good to follow and not too overwhelming. It's just a lot of photos :) Once you get going things just start to flow :)
If there's anything you need help with or I didn't explain well enough, just ask in the group. I will definitely answer there.
Have fun with your future journal/sketchbook and see you soon!
With much love,
♥
Nina


